So upon getting engaged to the new love of my life I set upon a journey to get fit and craft craft craft until I had made the majority of my wedding items. It is now a week and 3 days away and almost everything is finished. First we had to pick a theme, and us being us we took a medieval theme and put our spin on it. I give many thanks to Carole at
Camelot Costumes, who made my dress, my daughter's dress, and my darling love his outfit. And to
The Fairy Glen for the beyond beautiful cake topper and service set. My first idea was to make ribbon roses. Never having made them before I hit YouTube running.
The easiest for me to follow was this video here.
 |
| yep thats a dime |
|
I made so many of these babies in all sizes and colors I don't think I will have to make any for my daughters hair for quite some time.
That was all fine and dandy until my mom went shopping and hit the sale flowers and bought about $800 worth. Lesson learned and I can now use the little roses as accents for my photobooks that I plan on selling on etsy soon.
So after that we consulted the relatives and found out all the birthdays in May, which was the month I wanted... Silly me. We find out that the only free weekend in May was the 19th so that was the day we chose. Now I moved on to Save the Dates. I had run across
Pinterest thanks to my lovely sister and found multiple ideas for this.
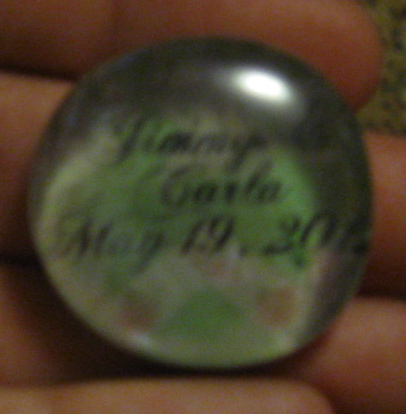
The best one I found was magnet save the dates so every time your guests go to the fridge there is the reminder of your very special day. Looking up getting them made made me gasp. For mini magnets it would cost me a little over a buck a piece for each... and with the soon to be hubby wanting over 200 guests well that was a little too spendy for me. So I searched and searched until I found what I wanted.
DIY glass magnets I spent maybe $5 at the DollarTree on the glass rocks, $6 at Walmart for the magnets, couple sheets of paper, printer, and craft glue (The last 3 I had just sitting around) I made 250 magnets for a little more than $11 if you add the pennies in the items I had around the house. I had wonderful results even if the camera doesn't show it... I still have a little practice to do in that area.


Then I moved on to lighting... Now just to be clear I didn't do all of this in one night. It took at least a month or two to do all this and the lighting. Again looking at Pinterest I found
This,
this and
this. So seeing the price of the sun jars I looked around and found
this which was much better. I combined a few of the ideas mostly just adding pretty colors to both the hanging candle jar and the solar lamps.
 |
| really is purple... darn bad camera skills |

And after this I dropped the wedding ball until 3 months til... so I will leave you there until next time.